

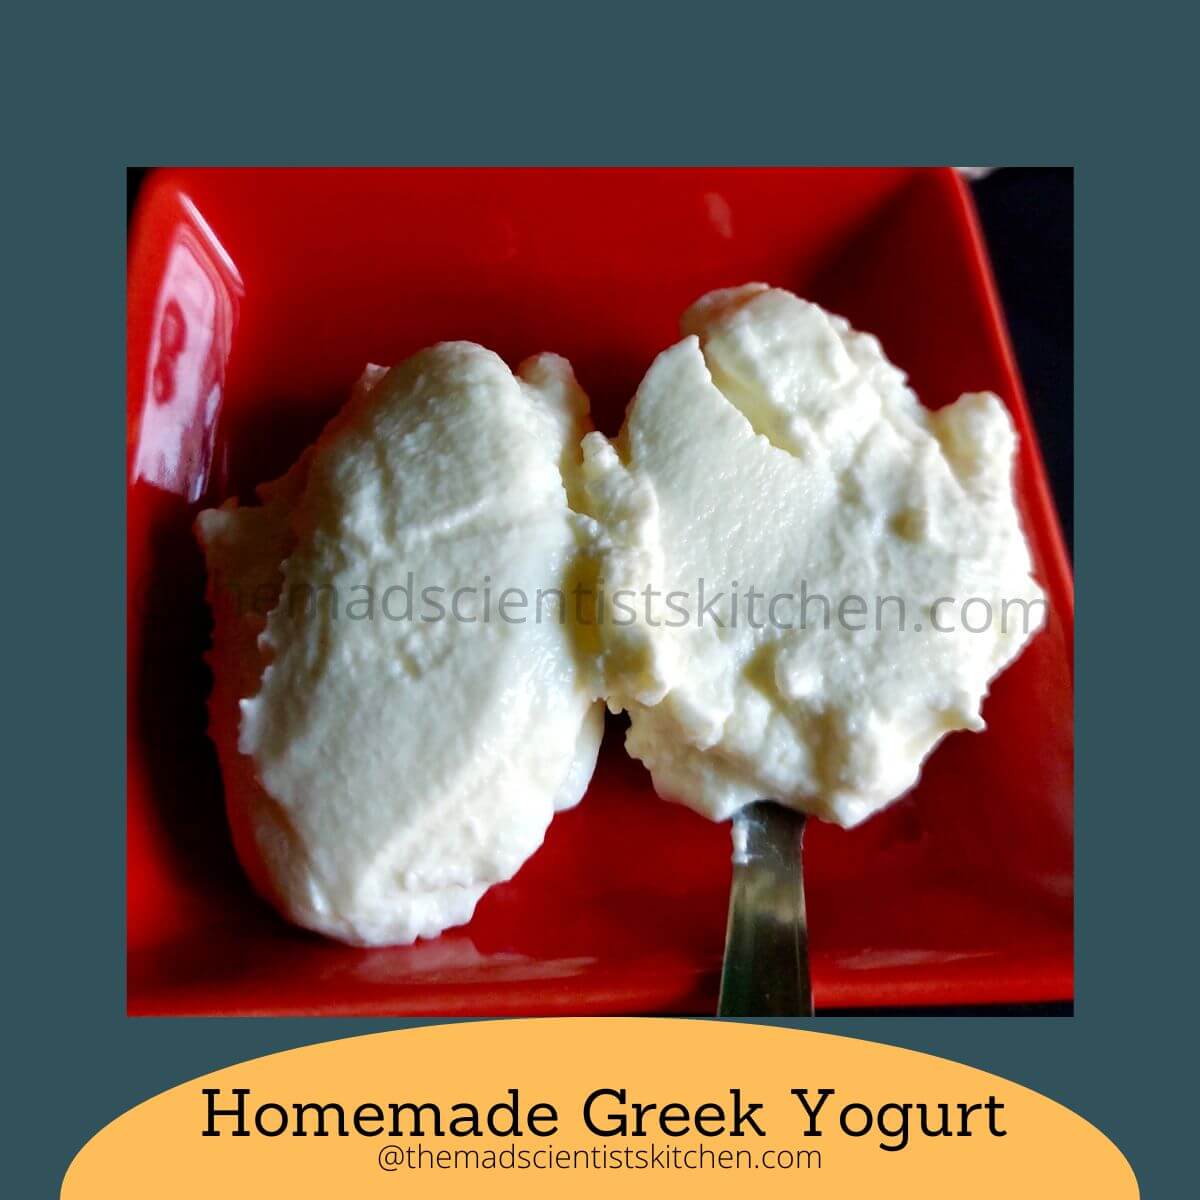
Simple and easy way to make Greek yogurt( also Greek yoghurt) in your kitchen. You do not need fancy gadgets or ingredients to make this delicious creamy dense and flavourful yoghurt. This homemade Greek Yogurt is healthier and cheaper than the store-bought one.
With the party season fast approaching, we plan to stick to our diet but not lose out on the goodies that year-end parties mean. So the base of many of my dips and sauces will be this simple dahi not just for parties but on any other day.
We love our dips and Greek yoghurt can be used as a base to make our favourite dips like Mint Chakkah, Ranch Dressing and Russian dressing. This recipe was inspired by the fact that we are avoiding store-bought sauces and dips.
We love this ranch dressing but silken tofu we need was not available. So I substituted it with Greek yogurt.
Jump to:
Before we go ahead let us clear some doubts
What is Greek Yogurt?
Greek yogurt is a dairy product made from milk and yogurt. Milk consists of casein and whey. The solid part happens when the casein curdles. Your cheese and yogurt are casein the leftover liquid is whey.
So Greek yogurt is essentially strained curds. (Psst! We have been straining curds for ages. This is the same method in which you make Shrikhand and we call it Chakka.) The straining drains out the excess water and lactose too but the extra minerals are also leached out. Hence the leftover liquid whey can be used to make smoothies or knead your chapatti dough with it.
What is the difference between regular Yogurt and Greek Yogurt?
Indians being lacto-vegetarians dahi (curds or masuru) as we call it is part of the everyday diet. We know how to set curds and their different uses. We have dahi bhalla, kadhis to name a few.
So the main difference is because of straining. This means the Greek yogurt is
- Thicker and is higher in protein content compared to regular yogurt.
- Since we strain the whey it is lower in sugar.
- You will use high-fat milk to make the yogurt hence the fat content is higher than regular yogurt.
- You need more milk to make Greek Yogurt remember we are straining the liquids.
What time horizon are we looking at to make yogurt?
The only time you need to stay with the milk is when it is heating so that is about 8-10 minutes.
- My process is to heat milk as I am making breakfast in the morning.
- Then the milk stays on the platform for about 2-3 hours to cool.
- Setting the yogurt takes about 5 minutes.
- But the incubation takes a good 4-8 hours. It sits overnight on the kitchen platform.
- Straining and chilling about 2-3 hours.
Ingredients
These are your ingredients for quantities please check the recipe card.
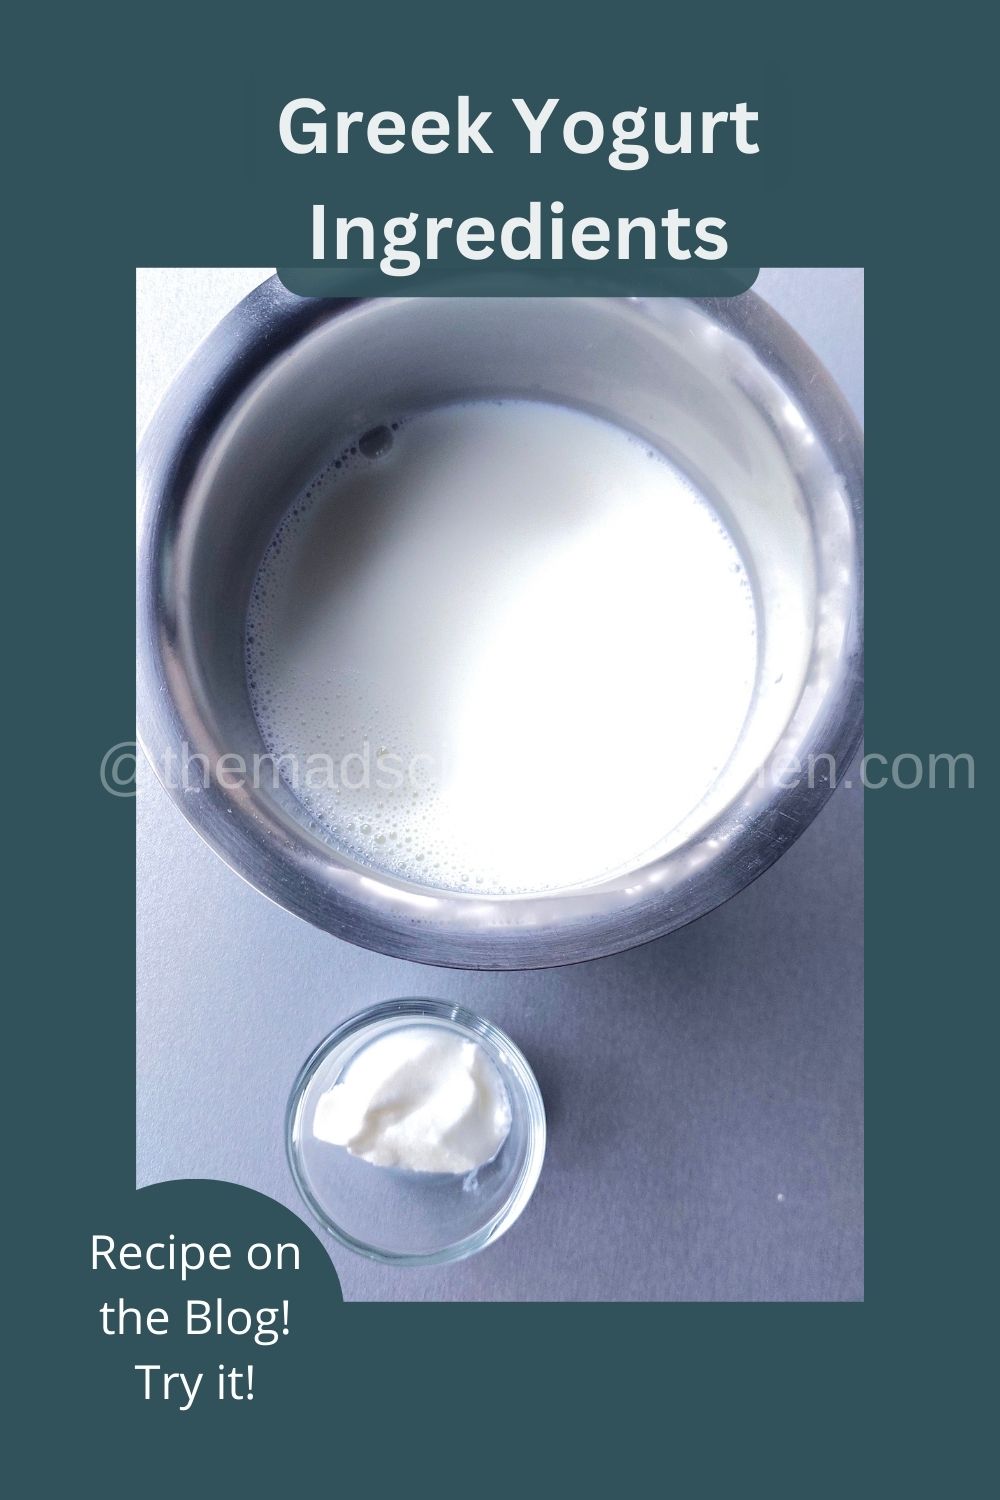
- Milk: I use 6%fat whole milk
- Yogurt: Dahi, Indian curds. In my case, a little of yesterday's curds becomes the starter for today's curds. In case you need to buy your starter use the one that has live culture.
Instructions
- Heat Milk: like any other Indian home milk is heated in my place. We heat it on low flame till the milk comes up. But today I want you to stir the milk so that the skin does not form. I generally heat till there are bubbles on the side of the pan.
- If you are using a thermometer you need to heat to 85°C to 93°C or 185-200°F.
- Cool the milk: Let the milk cool down. I let it stay on the platform but if you are in a hurry place the milk pan in a pan of cold water or ice. The milk has to be lukewarm, a drop of the milk on your wrist should be warm.
- If using the thermometer 37-43°C or 100-110°F.
- The starter: in the container you are planning to set your yogurt, add the starter.
- Now you can add some of the warm milk and stir till the yogurt is well blended. My mother-in-law used to say stir 32 times once for each tooth.
- What I do is in the pan I spread the starter curds and smear the container and the sides with the starter. Add milk and mix well.
- The magic begins: Let the covered container sit undisturbed for the next 6-8 hours or overnight.
- Now I live in a hot place and hence the container sits on the kitchen platform. But if you live in a cold place consider placing a warm tea towel, a te cozy, an old cap or placing the jar in the oven with the lights on. I heat the empty microwave for 2 minutes and place the container in the microwave when I need curds urgently.
- Strain: The curds or dahi we eat every day tastes great, but today I will be straining the curds. I like to use a wire mesh with a disposable napkin you can use paper towels or muslin cloth.
- Place the mesh on a large well-fitting bowl and pour the yogurt on the lined mesh. Place this bowl entire bowl in the refrigerator to drain the whey.
- The time you need will be according to the consistency you like. For a creamy butterlike consistency keep overnight.
- Transfer to a bowl or jar the contents of the strainer and use as needed.
Hint:
- The straining drains out the excess water and lactose, but the extra minerals are also leached out. Hence the leftover liquid whey can be used to make smoothies or knead your chapatti dough in it. I use it in curry like chana madra, kali dal.
Psst the Greek yoghurt is the Chakka used to make Shrikhand. The only difference is we do not strain the curds in the refrigerator.
Equipment
- Pot: preferably a thick-bottomed one this way the heat distributes well and the milk will not scorch.
- Whisk or Spoon: You will need to stir the milk I prefer the spoon but you can use the whisk.
- Container: Setting the yogurt will need a container and the final Greek yogurt will need a container to store.
- Strainer and Liners: You can use paper towels, cheesecloth or coffee filter papers. In the past, I used cheesecloth but washing the cheesecloth later was not my cup of tea. I now prefer a wire mesh strainer and disposable napkins this way I can discard the napkins.
- Refrigerator: I live in a hot humid place hence I strain my yogurt in the refrigerator. This prevents the curd or dahi as we call it from getting sour.
- Oven or a warm place: In contrast, if you live in a cold place you will need to place your setting milk in a warm place like the oven or microwave. You can also use an old hat or a tea cosy.
- Thermometer: This is an optional item. If you have a thermometer use it.
Storage
- I have stored Greek yogurt for a week but I suggest using it up within 4-5 days.
Pro Tips
- I use milk with 6%fat and we love it. I do not like the texture of the yoghurt made with lower fat content. We rather eat 2 spoons of good Greek yogurt than a bowl of the low-fat version. But that is our preference.
- If you need spreadable yogurt then strain for 2-3 hours. For a more buttery and creamy texture keep overnight.
- I prefer to do the straining in the refrigerator.
FAQ
Do I need a yoghurt maker to make yogurt?
A yogurt maker is easy and foolproof. That's not a bad thing, especially for beginners.
However, all yogurt makers are not alike.
For a hot country like ours, we do not need it. You can cover the container with something warm to retain heat and set it during
Related
Looking for other gut-healthy recipes like this? Try these:


Pairing
These are my favourite dishes to make with Greek Yogurt:


To summarise: Greek Yogurt is protein-packed and healthier than regular yoghurt. Make some in your kitchen your wallet and health will thank you.
I posted this simple recipe as a part of Foodie Monday Bloghop on 4th Feb 2019. This post was a part of the Levantine Cuisine theme. One of our favourite cuisines needless to say I have some recipes from the cuisine that I want to share, update and redo.
- Muhammara
- Vegetarian Shawarma
- Falafel Wrap
- Matbucha a Salad
- Baharat, A Spice Powder
- Laffa Bread
- Tabbouleh
The Mediterranean Cuisine you will want to try


Homemade Greek Yogurt
Equipment
- 1 Pan/Pot
- whisk
- Airtight Container
- Strainer
- Liners
- Thermometer optional
Ingredients
- 500 ml Milk I used 6%fat
- 1 tablespoon curds
Instructions
- Warm the milk stirring occasionally till the milk comes up.
- Cool the milk to lukewarm.
- In a bowl add the curd and spread it to the sides. Crush all the lumps.
- Pour the warm milk into the bowl put a lid and set aside in a warm corner undisturbed. The milk will set and form a thick curd in 6-8 hours.
- In my place where the temperatures hover around 26⁰C-31⁰C the curd will set fine but where it is cold you may have to cover it with a kitchen napkin. In Delhi, my mother used an old woollen cap to cover the bowl.
- In a fine sieve layer with cheesecloth or dispaosable napkins in the form of a T and place over a bowl big enough to hold the sieve.
- Spoon the cooled curds on to the cheesecloth, cover and refrigerate for 1 to 2 hours, depending on how thick you want your Greek Yogurt.
- Transfer to a bowl or jar the contents of the strainer and use as needed.
Video


The Girl Next Door says
I make this often, but not in the refrigerator. I hang yogurt in a cloth over the sink for 2-3 hours, and let all the water drain out. Then, I use it to make dips, sandwich spreads, shrikhand, etc.
A great, detailed recipe which I'm sure will be of help to many.
ArchanaPotdar says
😀
Poonam Bachhav says
Like you, even I prefer making my curds, chakka and paneer at home di . This plain Greek yoghurt looks just perfect. Would add some fresh strawberry puree to it and enjoy as a dessert.
ArchanaPotdar says
Now strawberries and greek yogurt sound yummy. Will make.
Sujata Roy says
We need Greek yogurt so often. Loved the well explained recipe. I make hung curd to use in my recipes. This looks so perfect. Lovely share.
ArchanaPotdar says
Thanks.
Swati says
Loved your simple recipe for the greek yogurt made from scratch. Perfect for making dips and desserts or I will love to have it just like that with some toasted pita chips or bread.
ArchanaPotdar says
😀
Preethi’scuisine says
Love the detailed recipe for making plain Greek yoghurt at home. This Greek yogurt is so versatile. Fab share.
ArchanaPotdar says
Thanks.
Vidya Narayan says
The Greek Yogurt looks so much better than store bought. I am sure the recipe will help many who plan to make this at home and often think that this may be a lengthy procedure. They will certainly be happy with the outcome. Awesome share.
ArchanaPotdar says
Thanks, Vidya.
Sujata Shukla says
Surprisingly I did not realise till I read your recipe, that Greek Yogurt and labneh are the same! I guess I never thought about it. I make salad dressings with labneh and your clear instructions will make it easier for me the next time I make it.
ArchanaPotdar says
Thanks, Sujata.
seema sriram says
Love this post. I was quite tired of telling people, greek style yogurt is not greek yogurt, Now i can simply send this one and I use the same to make Shrikhand too..
ArchanaPotdar says
Thanks, Seema.
Pranita says
Have you made images yourself? How did you made it very nice images.
ArchanaPotdar says
Thanks, they are images clicked by me.
Veena Krishnakumar says
Ah!I never knew making greek yogurt at home was this easy. Thank you arch. Now I can make those dishes which demands greek yogurt. And thanks for letting us know the similarity and difference between making this and chakka
ArchanaPotdar says
My pleasure Veena.