The cottony soft texture of Asian Sweet Bread is something that you understand only if you touch and eat it.
This delicious fluffy bread is also known as Japanese Milk bread and easy to make. Also called shokupan which means eating bread.
Contents:
- Why am I love this Bread?
- What is Ladi Pav?
- How to make Tangzhong?
- What is the process of making Tangzhong?
- How to make Japanese Milk Bread?
- Gather your ingredients for Hokkaido Milk Bread with Tangzhong
- Kneading and mixing for the Dough
- Preparing the Pan for baking the bread
- Shaping the dough
- Final proofing
- Baking the Japanese Sweet Bread
- Enjoy The Bread
- Recipe Card for Hokkaido Milk Bread with Roux
- Tips for perfect Hokkaido Milk Bread with Tangzhong
- Other Breads that may interest you
- Pin for Later:
Why am I love this Bread?
During the lockdown, my biggest problem was making chapatis that everyone likes.
Akanksha then told me, "Ma let's make Ladi pav. I will knead and shape you just supervise. Also, make Pav bhaji or misal". She does not like both pav bhaji and misal pav.
I guess my Baby became an Big Girl then!
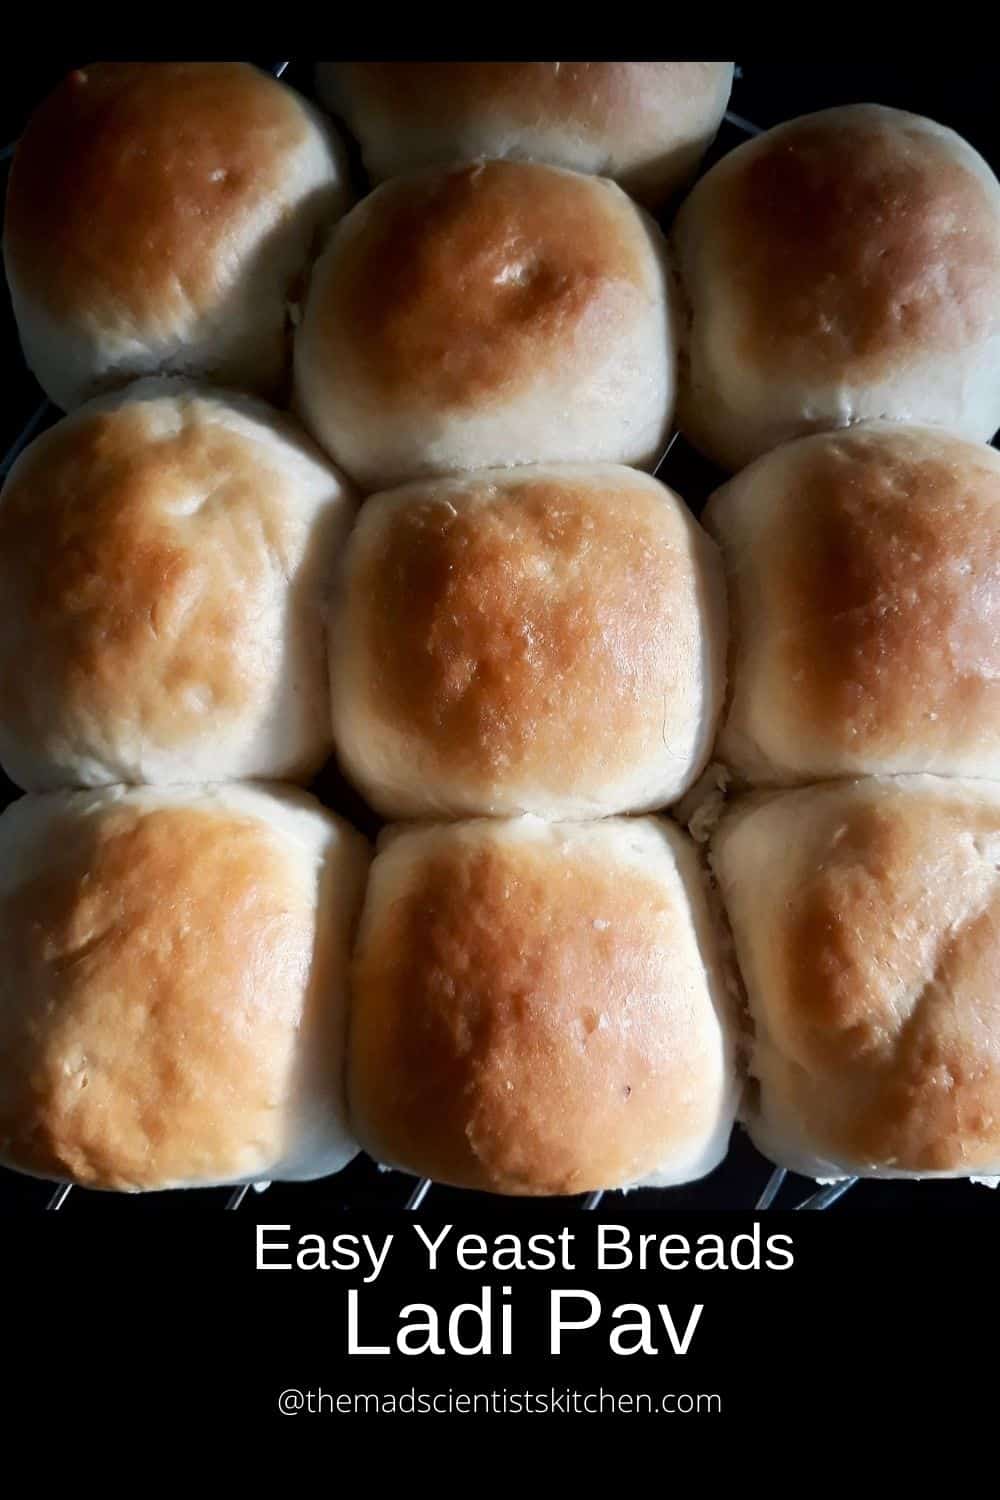
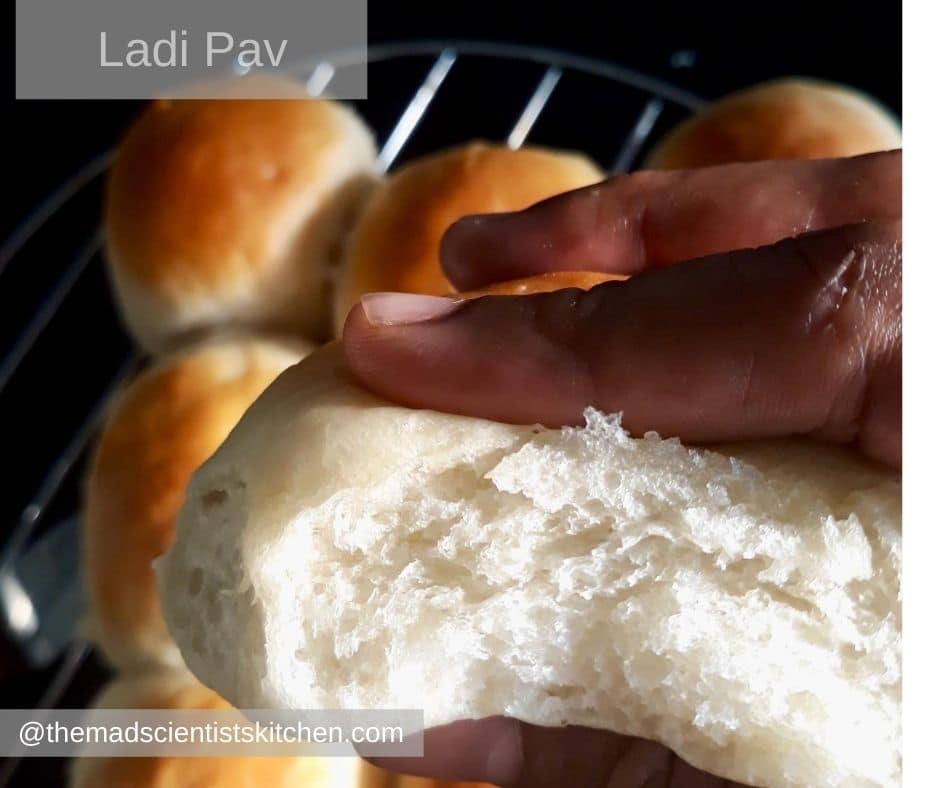
What is Ladi Pav?
So the pav Akanksha was referring to was Ladi Pav also known as Hokkaido Milk Bread.
A soft bread is totally addictive and milky and satisfyingly delicious .
Hokkaido Milk Bread is one of the best bread I have bake. It is soft, sweetish, milk and yet slightly chewy. The bread is also known as Japanese Milk Bread as it originates from Japan. There is a secret ingredient that goes into making the bread. A water roux (or Tangzhong) is the secret to this soft, delicious bread.
Hokkaido Milk bread is simple and versatile to use. You can make a loaf, dinner rolls or fill them with any filling of your choice. The rolls can be shaped too but the best bread it produces is ladi pav what you enjoy with pav bhaji.
How to make Tangzhong?
The roux or Tangzhong is made with flour and milk or water. You cook the mixture on low flame generally 65°C (149 °F). Bring the resulting paste or pudding to room temperature before you add it to your flour mixture.
At 65°C, the gluten in the flour and water mixture would absorb the moisture and create a "leavening" action. with the use of Tangzhong and the are other ingredients in the dough result in a light, tender and fluffier bread.
Adding a water roux is popular especially when making soft and springy Asian bread.
What is the process of making Tangzhong?
- To make The Tangzhong you cook 1 part of the flour with 5 parts of liquid (by weight) at 65°C (149 °F). The liquid quantity is important, as lesser liquid and you develop the gluten in the flour.
- Now the liquid can be water or milk or use half milk and half water. I prefer only milk.
- I prefer to use a thick pan to make the roux since I use milk. If by chance I do not stir well I risk burning the roux and I have to restart all over again.
- Add the flour and your chosen liquid. Mix well with a whisk till there are no lumps (be very sure you have no lumps).
- Place the pan on low flame and keep using the whisk to stir the mixture continuously.
- Cook until a nice, thick pudding is formed. In laypersons terms the lines of the whisk as you drag it across in et pudding are visible.
- Now transfer Tangzhong to a bowl and cover the surface with plastic wrap. It is important as this will not allow a skin on the surface of the roux.
- Cool to room temperature.
- If you are reducing the quantity of Tangzhong use a smaller pan. Since the width of the pan is smaller it does not dry out too quickly.
- Generally, I make a double quantity of Tangzhong as the bread is never enough and I end up making more the next day.
- Keep the extra Tangzhong in the fridge covered with plastic on the surface of the roux. Remember we do not want the skin.
- Only use it up the 3 days and remember to bring it to room temperature before using. (I prefer to throw it out after day 1).
How to make Japanese Milk Bread?
Making a Japanese Milk Bread is simple, just like you make regular bread. Get your ingredients together add the roux and you can mix away.
Be warned that this is a sticky dough. In case you are making it by hand, you will be tempted to add flour to make things easy for yourself, don't! Don't add the extra flour!!!
If you want to shape the bread, chill the dough for some time makes life easier.
Gather your ingredients for Hokkaido Milk Bread with Tangzhong:
Room temperature all your ingredients need to be at room temperature. Only the milk needs to be lukewarm.
- Maida or All-purpose Flour: If you have access to bread flour use it as this makes the bread better but I make it use maida or all-purpose flour.
- Milk Powder: Hokkaido bread uses milk powder as an ingredient. You can leave it out but the bread is better. This time while making it we used a fresh cream package as it was close to expiry. Remember it has to be at room temperature and do not shake it. Use only the top thick portion. The bread was really deliciously soft.
- Yeast: The entire bread basically rests on the shoulders of this little one-celled fellow. Now if you use active yeast activate it. I use instant yeast so I skip this step.
- Still do not be overconfident. I had an order for bread and my yeast died out on me. Was that totally unprofessional and embarrassing? I lost money and more importantly a client! I gave her another bread the next day along with the order but she has not come back!
- Since then I have started adding a pinch in a small quantity of water if it froths. By the time I collect the rest of my ingredients I know my yeast is great.
- Sugar: The food on which the yeast lives on.
- Tangzhong: The quantity needed for the bread here is ½ the volume. Keep the rest in the fridge and use the next day. Technically you can store the balance for 3 days I don't. You cannot halve ⅓ cup easily so make the full quantity.
- Salt: Use salt for taste only add it diametrically in the opposite corner of the flour.
- Butter: Use softened butter. Generally, I use salted butter as that is easily available. The butter flavours and gives a soft texture to the bread.
- Egg: Use an egg if you wish but it is okay to leave it out. The bread is still great.
- Additional Tip: This bread is mildly sweet however to make it savoury use 1 tablespoon sugar and add ½ teaspoon salt.
Kneading and mixing for the Dough:
In a mixing bowl or on the kitchen platform add all the ingredients. I add the salt in one corner and the yeast and sugar in the other corner. Then too as I mix the salt part last.
You will need other than the yeast, sugar, Tangzhong, milk powder, egg (if using)and the flour. Lastly mix salt.
Kneading and mixing
Be easy on yourself and use the food processor or kitchenaid if you have it.
But if you have to use the muscle power, at the cost of repeating myself, Don't add extra flour!!!
After some 20-30 minutes of hand kneading, you will see the gluten start to form, add the butter. In the processor, about 10 minutes is all you will need.
The flour will be sticky, transfer to the work surface keep kneading it, your patience and hard work will be rewarded with a shiny and soft dough. A little sticky but it will start leaving the platform or bowl. (this is the reason way Akanksha generally kneads with her hand). Anyway, I have to hand knead is her refrain. Once she leaves for college I will have to reassess my situation.
Proofing the Dough
- If you plan to make the bread immediately then keep it for initial proofing.
- In case you want to shape your bread, cover the dough with a cling film and chill in the refrigerator overnight preferably.
- Your dough is proofed once it doubles in size.
- Since I live in a very hot and humid place my dough is ready in 45 minutes. You may need about an hour however keep an eye on the dough.
Preparing the Pan for baking the bread
- If you are baking a loaf then grease a loaf 4.5 by 9 inch loaf pan.
- If you plan to make dinner rolls/ladi pav use a greased 8 or 9 inch square pan.
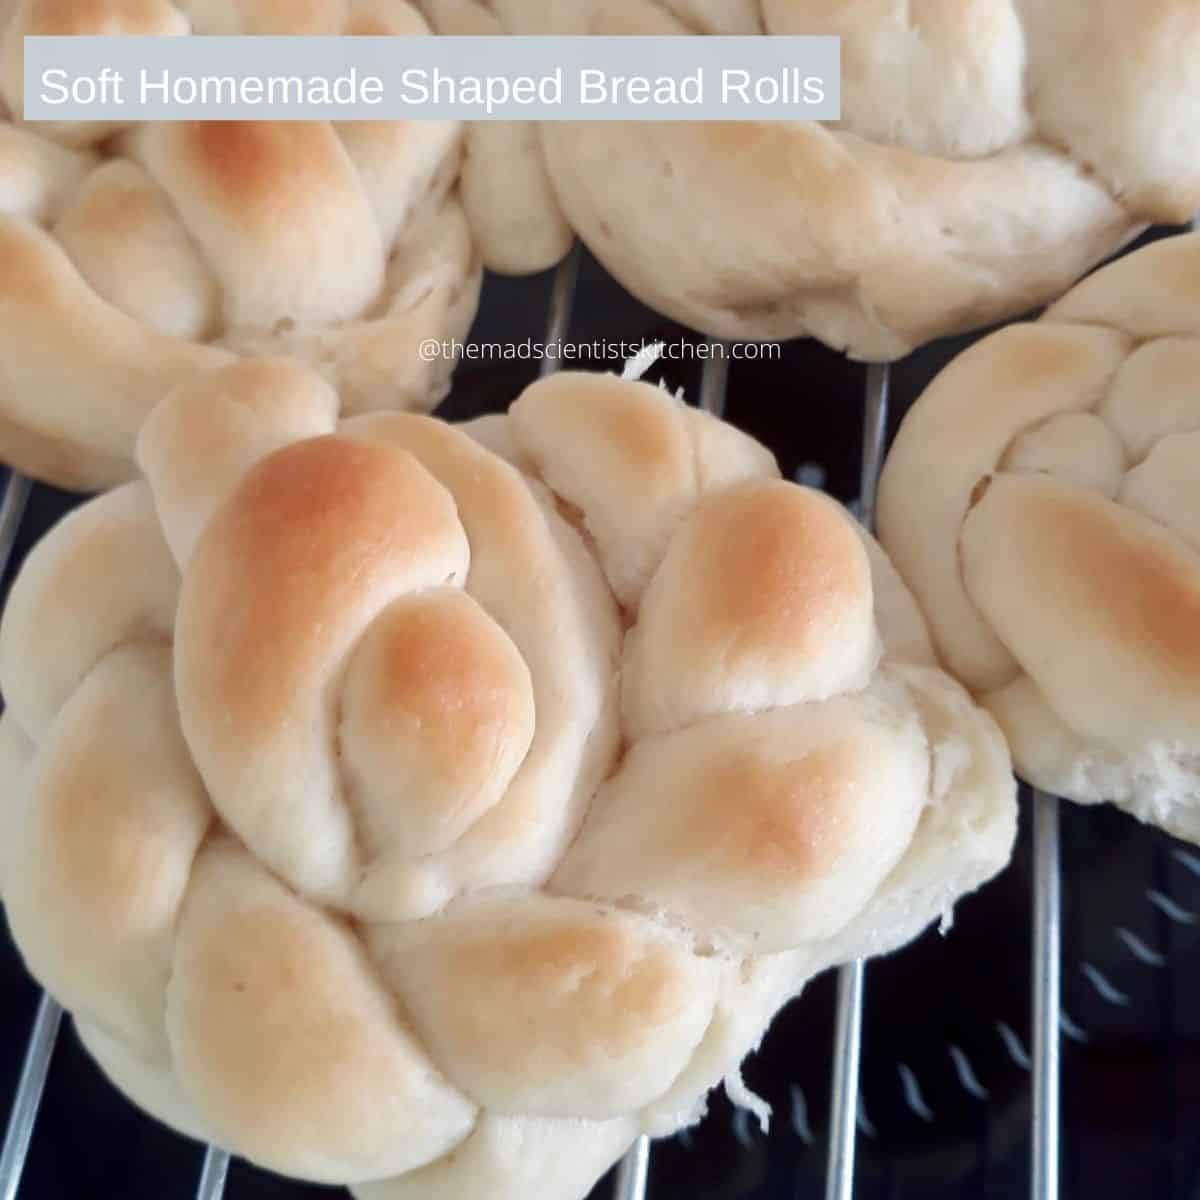
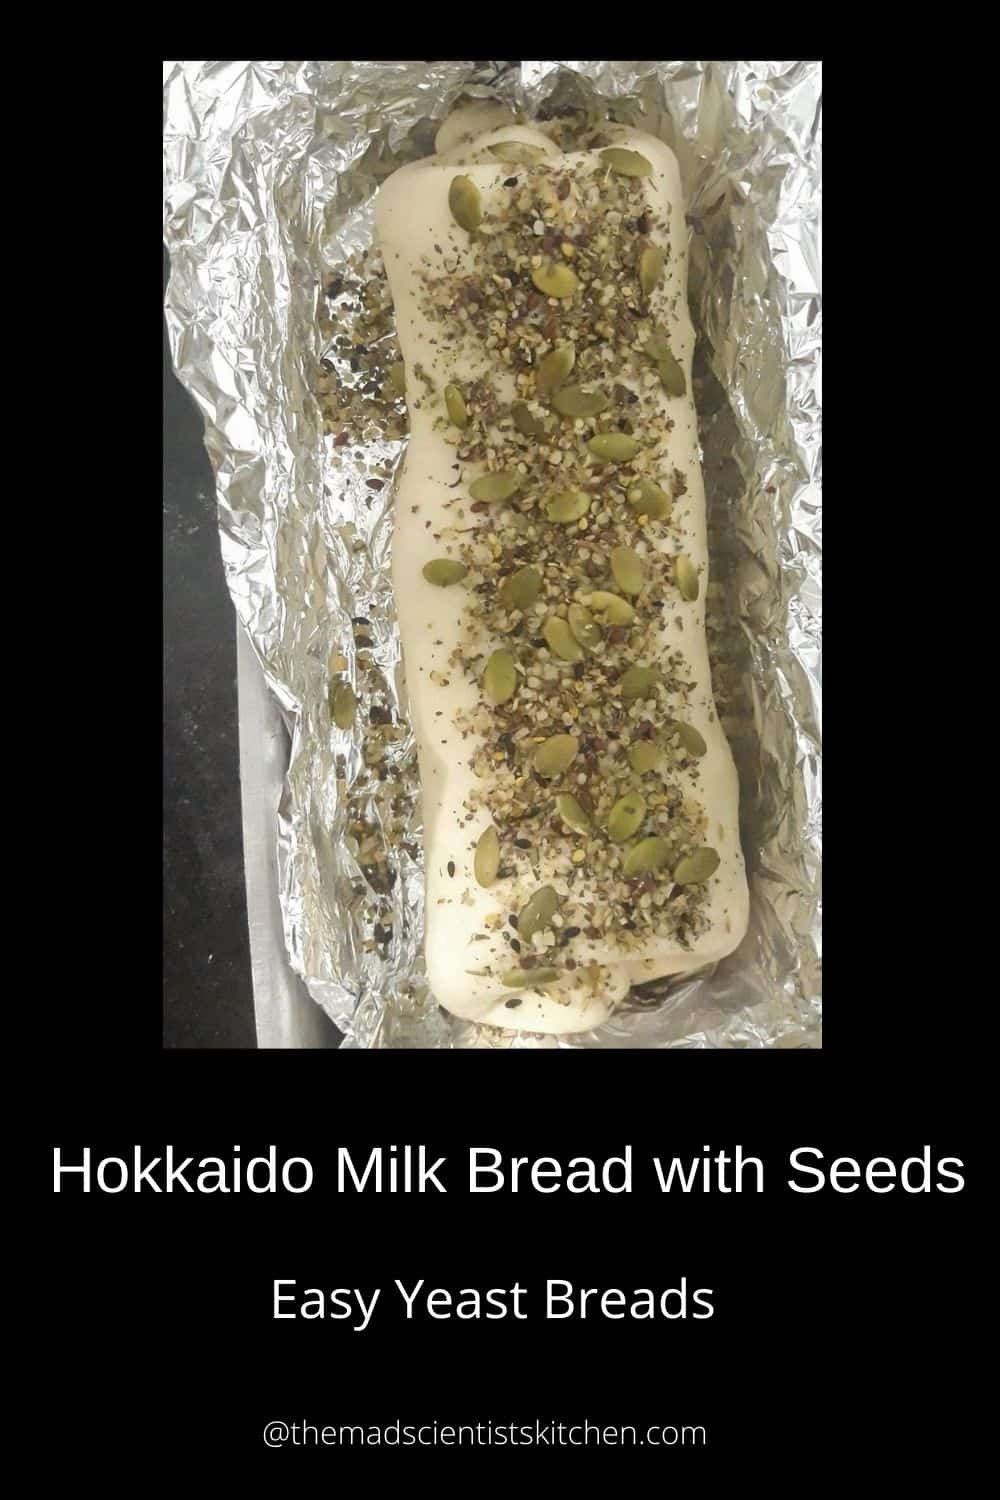
Shaping the dough
Once proofed you can use the dough to shape the bread. You have plenty of options make a loaf or rolls, dinner rolls, ladi pav to is an option. I have made hedgehog with the dough. However, prepare the pan first.
Shaping a loaf bread
- To prevent sticking of the dough lightly flour the work surface.
- Divide the dough into 4 equal pieces. You can weigh them too but I generally eyeball it.
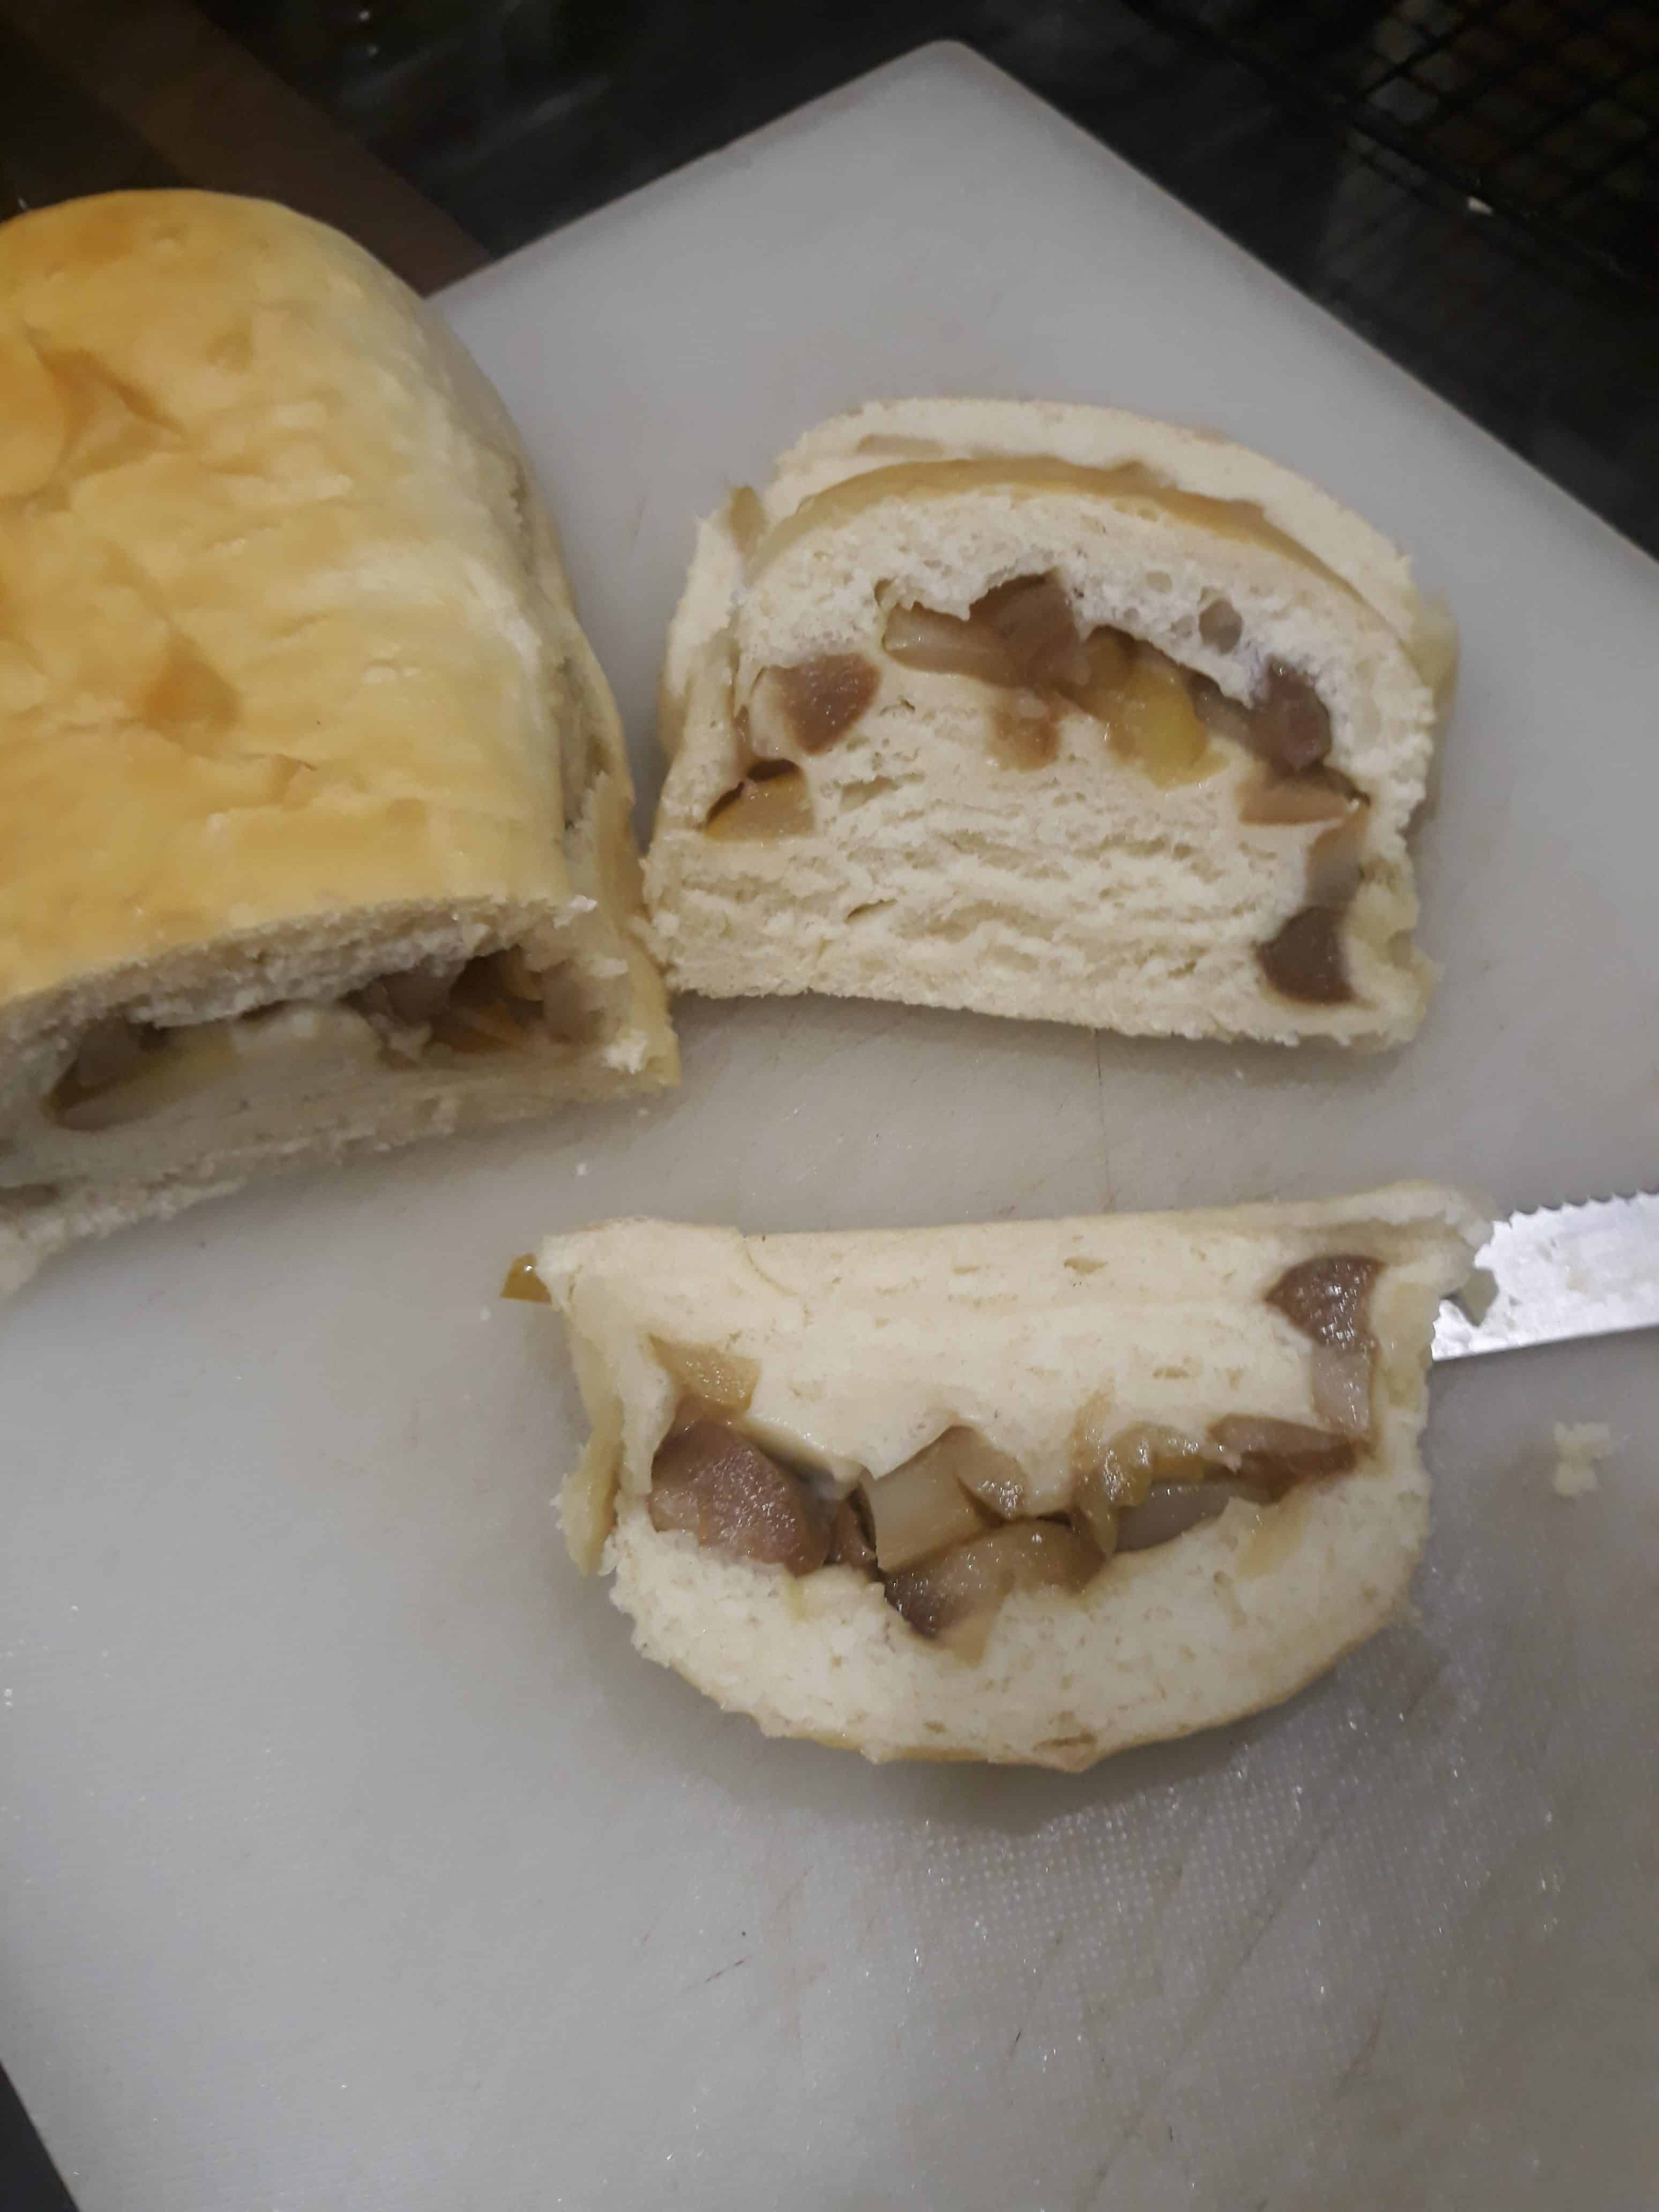
- Flatten the ball of dough then roll out a rectangle that is as wide as the loaf pan. Add any filling you want like garlic, cheese, poached pears.
- Roll it up tightly pinch and seal the seams. Tuck the edges to fit into the loaf pan.
- Keep rolling the dough so that it is smooth, put the seam down on the loaf pan, take care that the roll is as the loaf pan.
- Repeat with the remaining 3 dough portions stack them side by side.
Shaping dinner rolls
- Make 9 equal balls of the dough. Again weigh it up if you wish I eyeball it.
- Dust the work surface lightly.
- Lightly flatten the dough and collect the edges in the centre. And place the seam side surface down.
- Place your palm on the ball such that you cup the dough.
- Light and quickly roll the dough around. The dough becomes a smooth round ball.
- Place the seam side down on the greased tray.
- Repeat with the remaining 8 pieces. stack side by side.

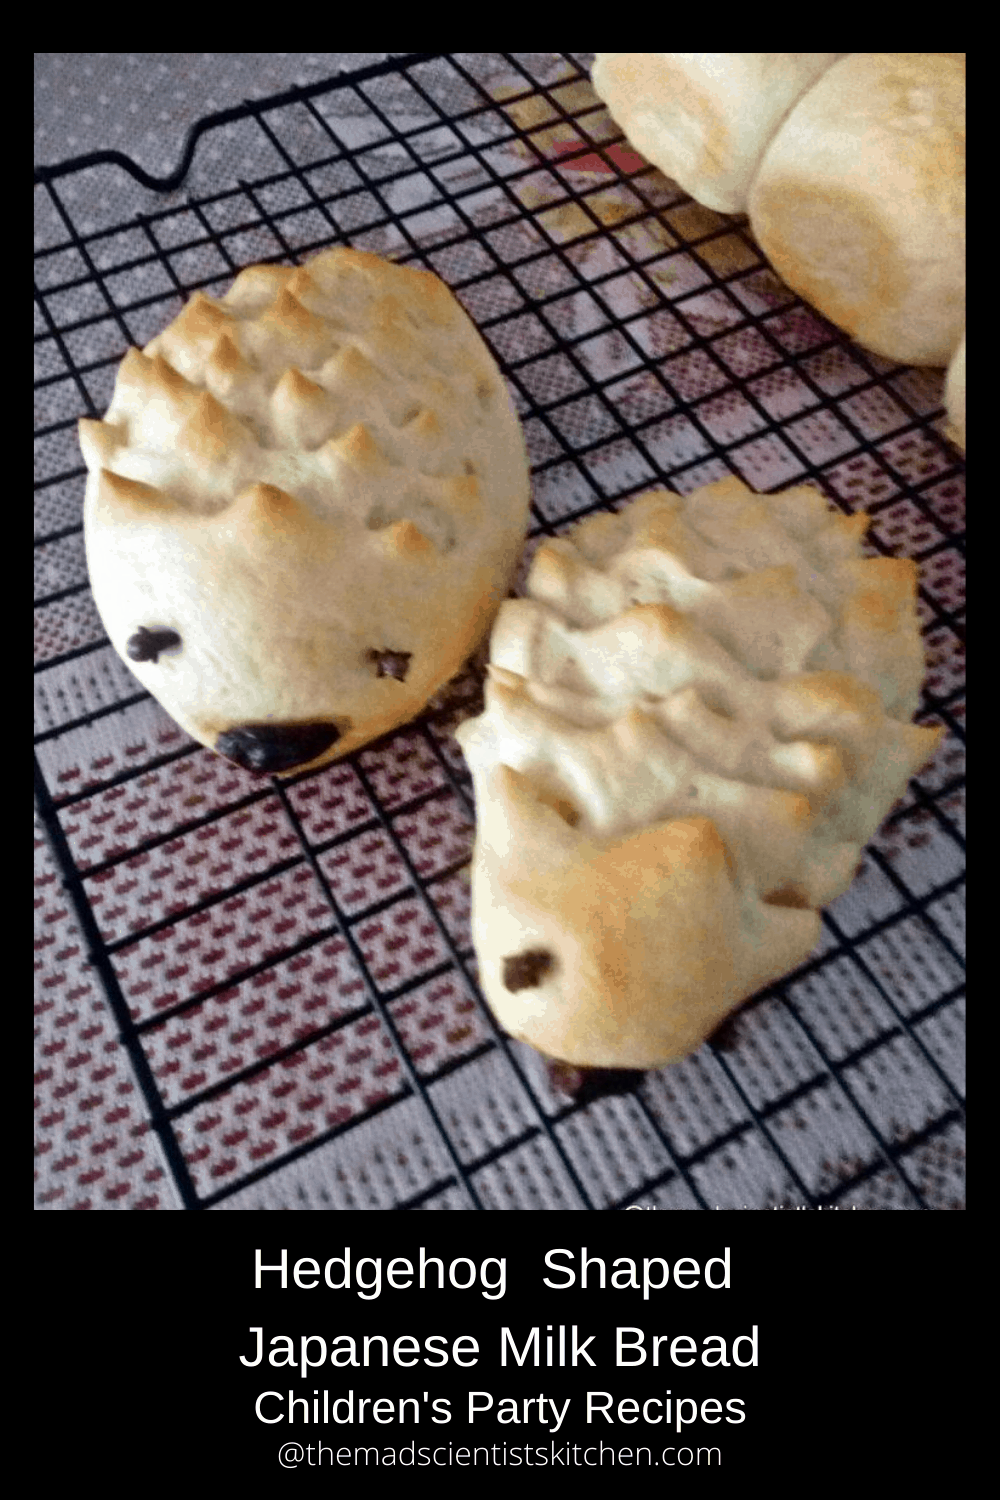
For shaping the hedgehogs
- Divide the dough then shape them such that they are narrow on one end.
- Use black currents or cloves to make the nose (chocolate will not work). Press well in the dough else the will fall off.
- Use sharp kitchen scissors and make deep cuts on the body randomly. Shallow ones will again disappear when the dough rises.
Final proofing
- Keep the tray covered with a plastic cling film or clean tea towel. In my heading to a zero-waste kitchen, I prefer the tea towels what dis your grandmother use??
- The dough should proof and double in size.
- As the tray is proofing I clean up and get the egg wash or milk wash ready.
- Egg wash is egg yolk and water mixture whereas milk wash is milk and cream.
- This proofing generally takes 30 to 40 minutes in my weather conditions.
Baking the Japanese Sweet Bread
- Towards the end of the 30 minutes (your proofing time) pre-heat the oven to 180C/350°F.
- Brush the bread with the egg wash/milk wash liberally.
- Place the pans in the oven centre rack, both grills on, to bake the bread loaf and it takes about 30 or 35 minutes.
- Your bread rolls will be ready in 20 minutes or till your bread will be lightly golden.
- If you want a deep brown colour tent the bread and continue baking.
- Tenting is placing a piece of foil on the bread. The foil will stop the bread from burning.
- If you are using a thermometer then you can bake till the internal temperature reaches 88C/109F.
- My thermometer is never working or I cannot remember where I kept it so I prefer to knock on the bread when it sounds hollow I get it out of the oven.
- Transfer the bread on a cooling rack for about 10 minutes. Then using a knife, loosen the bread (just to be sure it comes out in one piece).
- Then turn it out on to a wire rack to cool down.
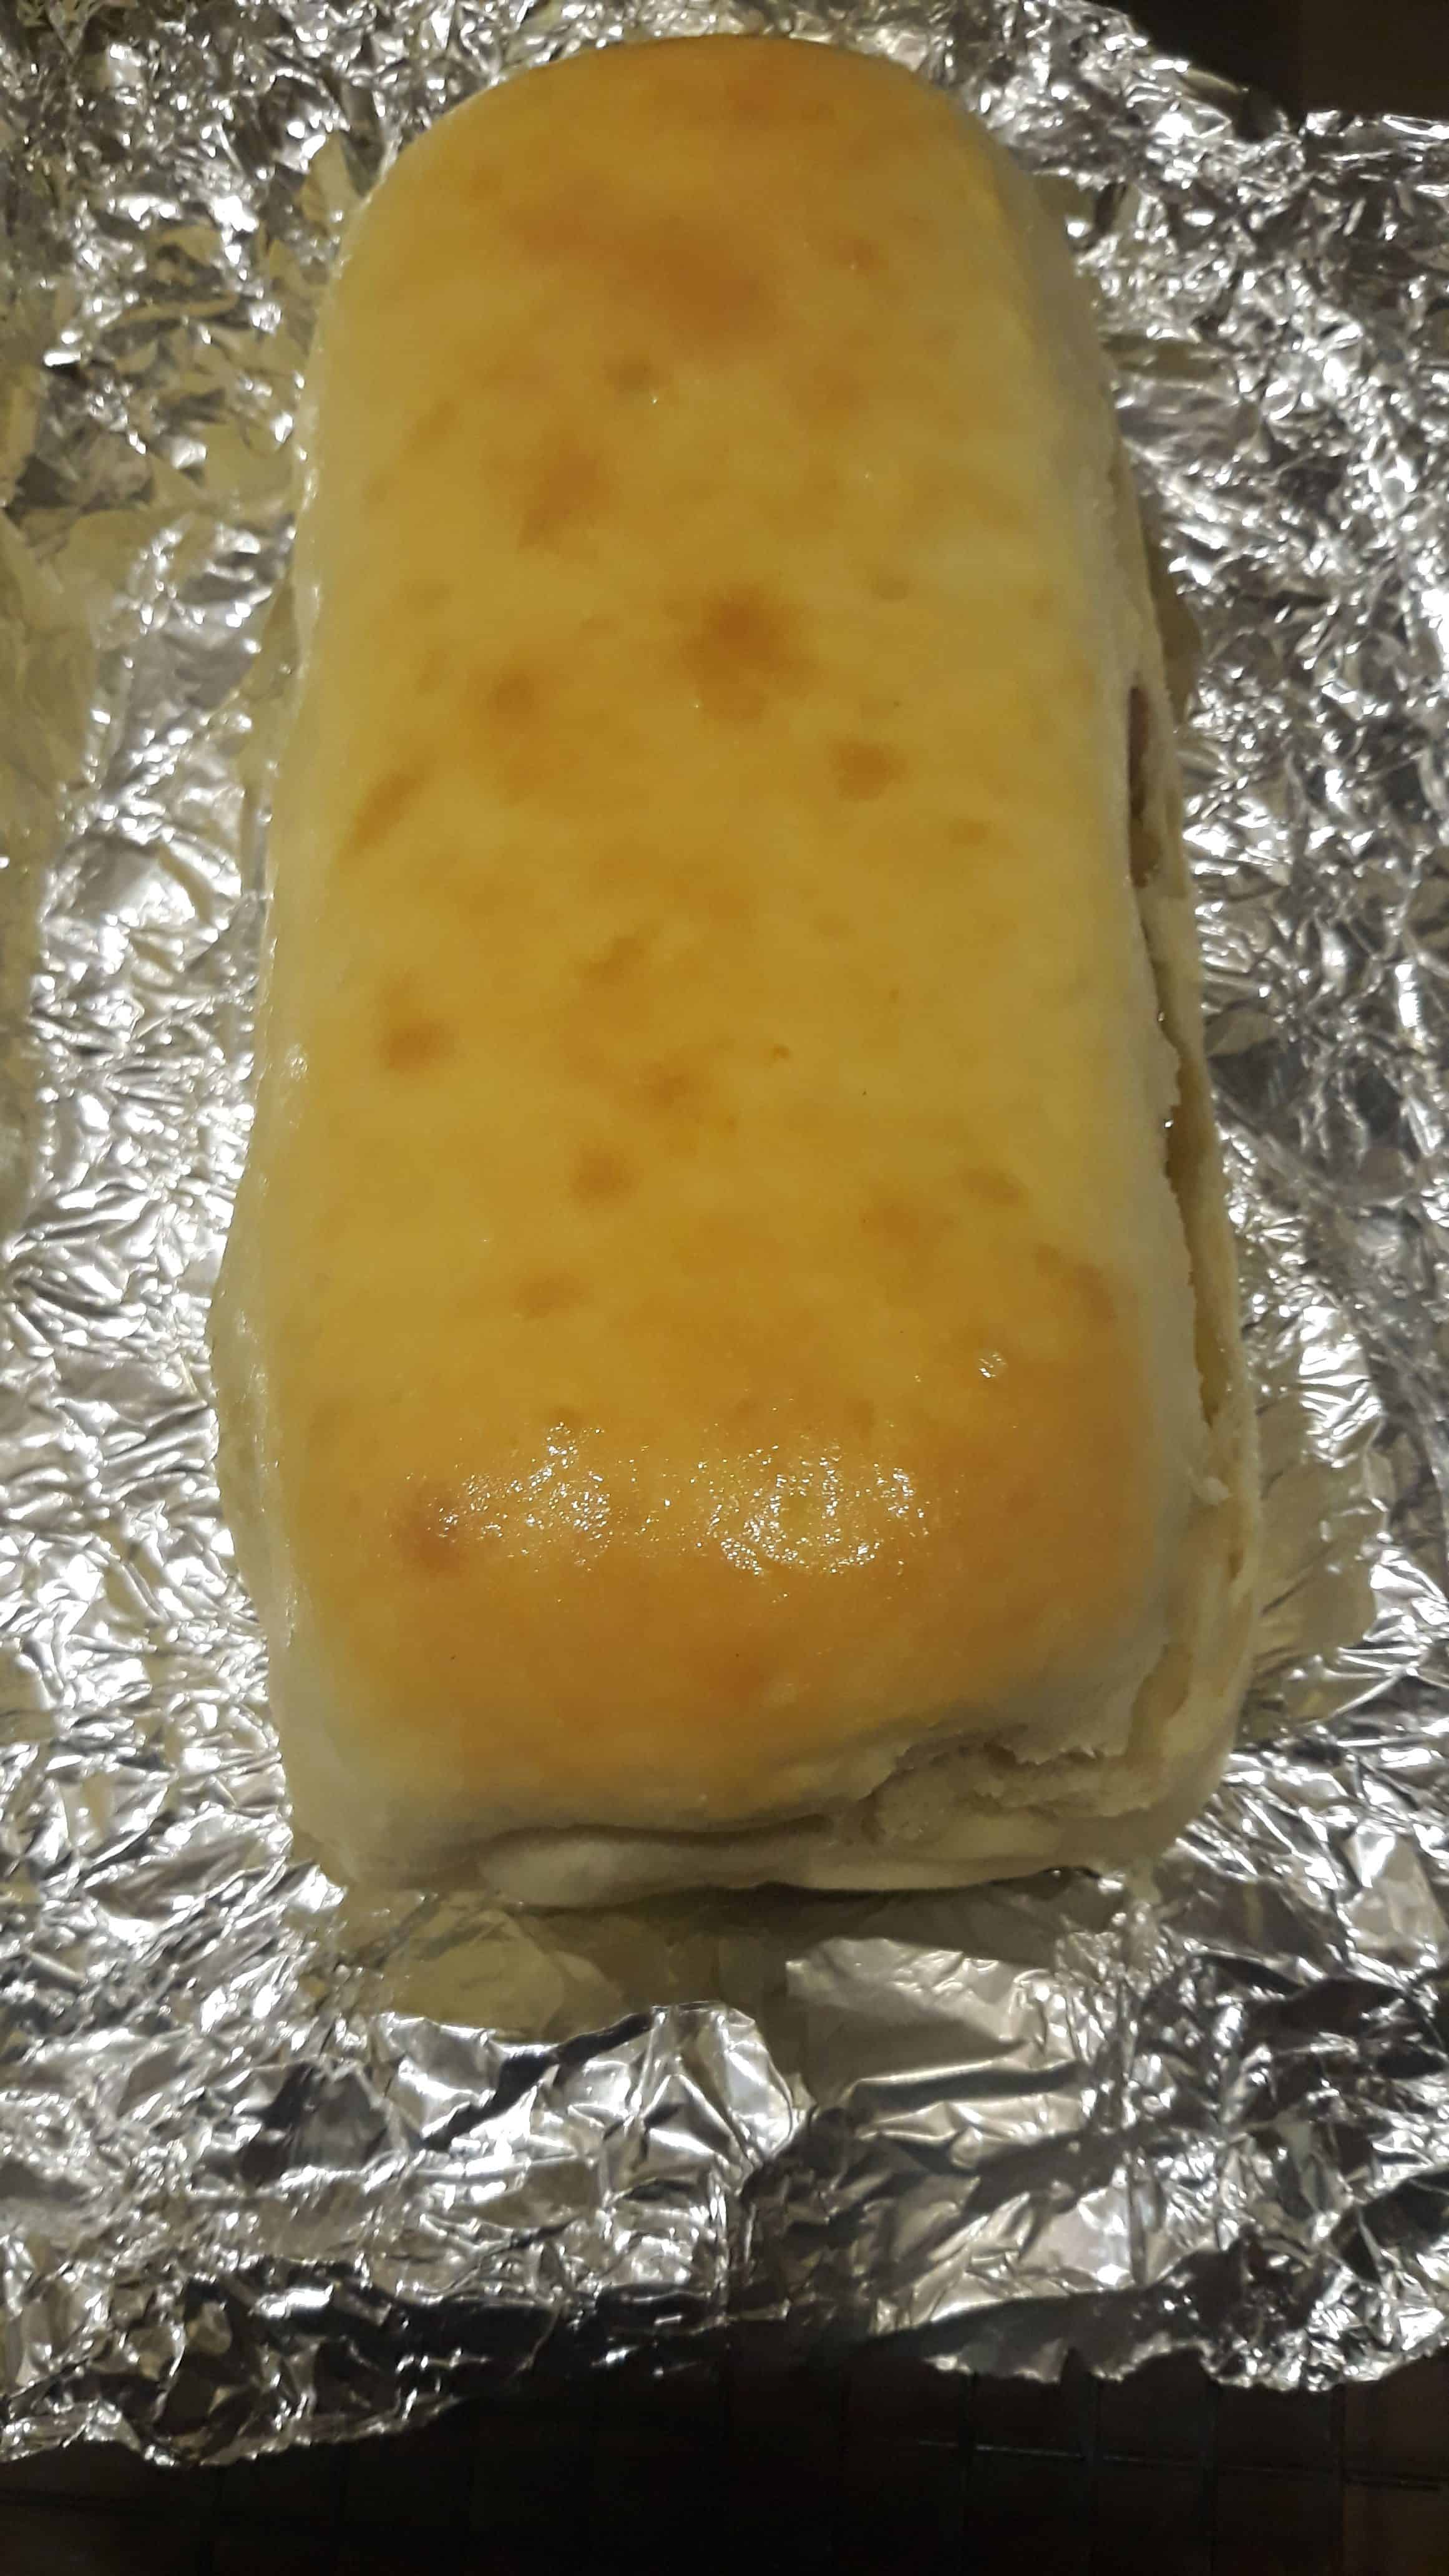
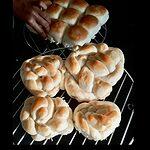
Enjoy The Bread
There is something about a bread that demands you tear it up when just out of the oven. Happens with me with every loaf. But bread is best when it cools down and you can slice it up.
Enjoy the bread with butter, jam, Nutella, eggs, cheese, as a sandwich or just by itself.
This bread dough is very adaptable. I have used it to make garlic bread, cheese garlic bread, poached pear stuffed bread. You can make rolls, shaped bread too.
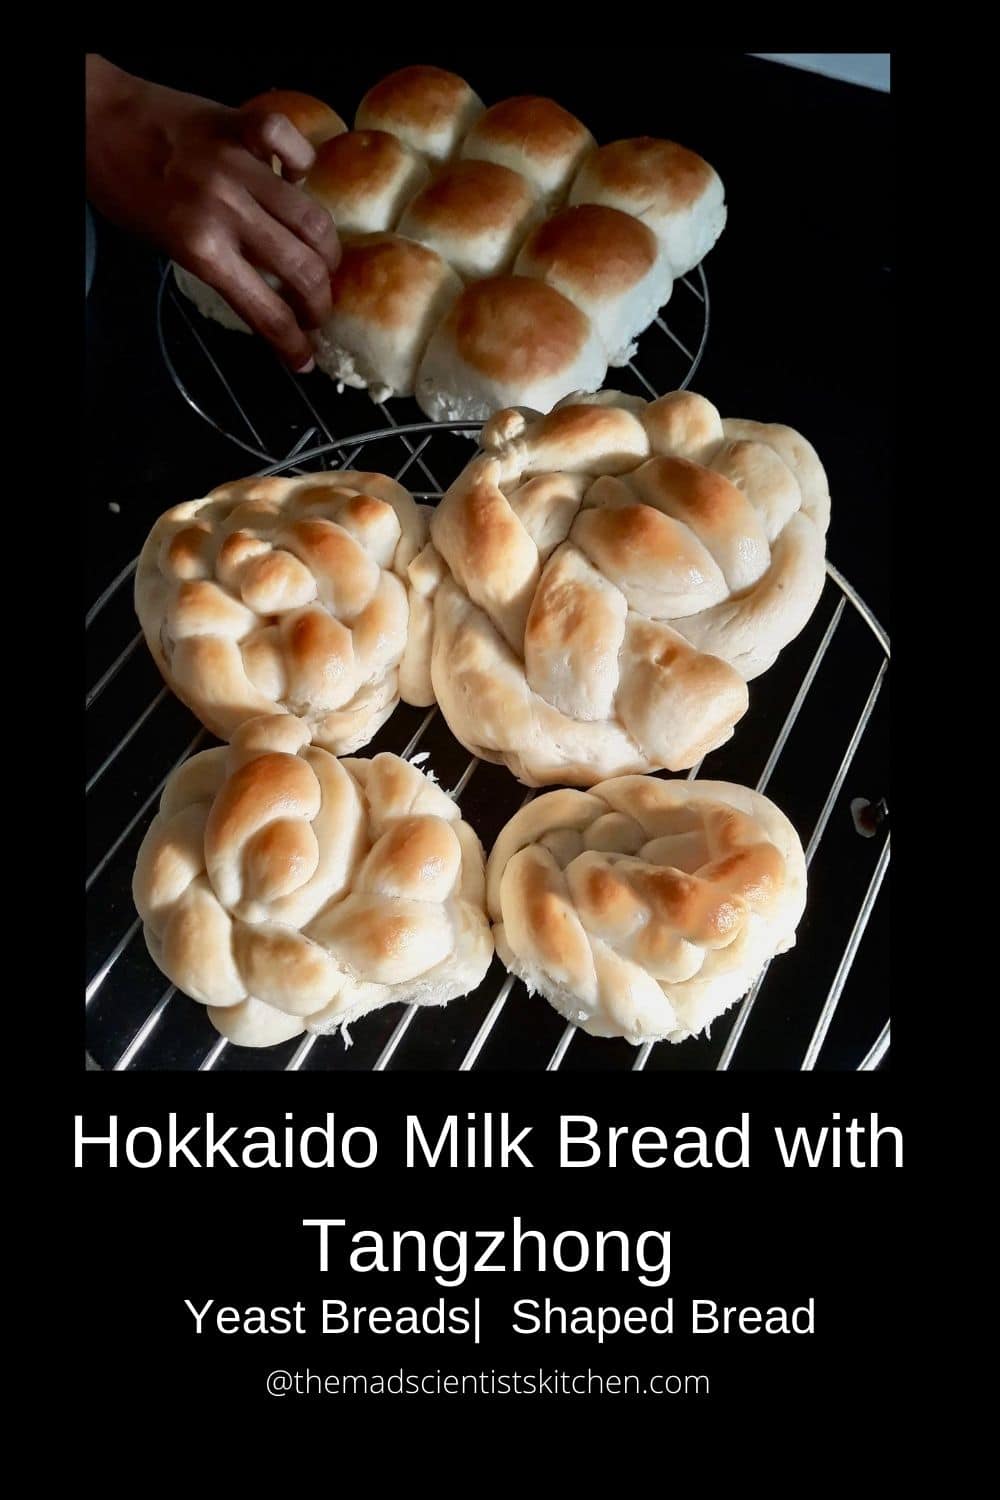
Recipe Card for Hokkaido Milk Bread with Roux

Hokkaido Milk Bread with Tangzhong
Equipment
- Saucepan
- whisk
- food processor
- Oven
- Trays
Ingredients
For the Tangzhong:
- ⅓ cup all-purpose flour
- ½ cup water
- ½ cup milk
For the Dough:
- 2-½ cups all-purpose flour
- 3 tablespoon sugar
- 1 teaspoon salt
- 2 tablespoon milk powder
- 2 teaspoon instant yeast
- ½ cup milk may need little more
- ⅛ cup cream 20% fat
- ⅓ cup tangzhong or half the quantity cooked above
- 25 grms Butter unsalted, softened
For chocolate Chip Filling:
- ½-3/4 chocolate chips if making with chocolate chip rolls
Instructions
To make the Flour-Water Roux the Tangzhong:
- In a small saucepan add the maida, milk and water. Make a smooth lump-free paste.
- Cook on medium flame whisking all the time the batter will thicken. Your paste must be smooth.
- If you have a cooking thermometer use it and cook till the roux/ tangzhong reaches 65C/150F and take it off the heat. However, if you don't have one I have you covered, cook the roux/tangzhong till you see lines forming in the roux/ tangzhong as you whisk/ stir it. You are done take it off the flame.
- Now your roux/ tangzhong has to cool completely and so set it aside for 3 to 4 hours. Once cool the cool completely roux/ tangzhong will be soft and creamy. In case you plan to use this roux/ tangzhong later transfer when hot to a bowl and cover using plastic wrap. The plastic has to sit directly on the roux/ tangzhong. There should be no skin on the roux/ tangzhong. Store in the refrigerator and use the roux/ tangzhong within 24 hours. Discard the tangzhong after that.
Now for the Bread Dough:
- The dough can be made in the food processor or hand. Please note that the dough tends to be a bit sticky and will need time and effort. Do not be tempted to add dry flour. Believe you me adding the dry flour is so very tempting when you knead by hand.
- In a small bowl mix the milk, cream, roux/ tangzhong till smooth.
- Put the flour salt, powdered milk, sugar and yeast together and mix well. (If using the food processor pulse the ingredients.)
- Add to flour mixture the roux/ tangzhong and mix well. (in the processor run on slow speed until the dough comes together).
- Knead well till the dough comes together then add the butter and continue kneading, you will get a smooth elastic dough that is sticky. (in the processor process till you have a smooth and elastic dough).
- Transfer to the platform and start kneading the dough (even if you use the food processor) push the dough away with the heel of your wrist. Initially, the dough will be sticky but it will start becoming smooth as you knead.
- In case your dough is firm add a teaspoon or 2 of milk. The dough should be soft.
- Knead way till you get a windowpane. What happens for a windopane test is that you should be able to stretch the dough without it breaking immediately. When it breaks at the point of breaking it should break in a circle. Next time I will upload a video.
- Now form a smooth ball of the dough and place it in a well-oiled bowl. Turn the dough over so that you the oil coats it. With a small piece of the dough mark twice the height of the dough on the bowl. Cover with a clean towel, plastic cling film and set aside in a warm place for 45 minutes or till the dough rises to the height of your dough marker.
- Place the dough on your work surface. Gently press the dough and Degas it.
- To make the bread you do not need any dry flour.
- Now with the dough, you have to decide what you want to make. You can make 1 loaf size 9" by 5", 2 small loads 6" by 4" or 12 small rolls. You can also braid the loaves and make them like a bun that our granny used to make from her hair. (for the want of a better analogy) these rolls my daughter has made. You can also shape them like animals snails, turtles, crocodiles, hedgehogs, a wheat sheaf.
- Depending on what you plan to do divide your dough. If you are making 1 loaf, divide your dough in 3 equal pieces. If you are making two smaller loaves, divide your dough into 6 equal pieces.
How to shape a loaf or rolls:
- Roll out one portion of the dough in an oval shape with the rolling pin. From the shorter side of the oval fold to the centre of the oval. The other side to fold in such a way that it overlaps the other fold. Roll out again so that unfolded edges are stretched out to form a rectangle. Now using the shorter edge of the end of the roll to the other edge. Pinch the sides of the edges to seal well. Repeat with all the 3 larger pieces.
- Place the rolls with the sealed edges down in a well-oiled loaf tin. Cover with same plastic you have used or towel and leave the dough to rise for about 45 minutes. If you are making stuffed rolls add your stuffing in the rectangle before you seal the edges.
To make ladi pav:
- Divide the dough into 8 pieces then on the counter/worktable shape them in a ball cup your hands on the dough and roll the dough in the cup. The dough becomes smooth.
- Transfer to a well-oiled tray with about ½ inch space in between.
- Cover with same plastic you have used or towel and leave the dough to rise for about 45 minutes.
For the hedgehogs:
- Divide the dough as you did above then shape them such that they are narrow on one end.
- Use black currents or cloves to make the nose (chocolate will not work). Press well in the dough else the will fall off.
- Use sharp kitchen scissors and make deep cuts on the body randomly. Shallow ones will again disappear when the dough rises.
- Transfer to a well-oiled tray with about ½ inch space in between. Cover with same plastic you have used or towel and leave the dough to rise for about 45 minutes.
- Towards the end of the rise, time preheat the oven @170 C/325F. Brush the tops of your bread with milk, cream, egg wash and bake for 20 to 30 minutes or till beautifully browned on top. When done the bread when tapped sound hollow.
- Let the bread sit in the mould for 5 minutes then unfold them. Cool on a cooling rack.
- Serve the ladi with pav bhaji, gravy vegetable, chicken or meat gravy. The loaf can be made as a sandwich the bread is soft and yummy for one day if stored covered.
Tips for perfect Hokkaido Milk Bread with Tangzhong:
- Tangzhong has to be perfect if the consistency is wrong and your bread fails. It is better to discard the Tangzhong then use a badly made one.
- The Tangzhong should be a thick paste at room temperature.
- Please see that the Tangzhong is at room temperature when it's added to the dough.
- Check your yeast first before you start mixing your dough. If using active dry yeast activate it.
- Use bread flour if you have access to it. If not use maida.
- Use milk powder for a soft and milky taste. You can use ¼ cup of milk cream without shaking the container if you have it.
- If you want a vegan bread add water in place of milk powder. It will not be milky but good bread.
- Salt kills yeast. Salt and yeast should be added directly opposite sides of the flour. This is to prevent them from coming in direct contact.
- The dough is sticky! So knead until the gluten develops and stops sticking.
- Grease and flour the pans you plan to use for baking. Else use foil and grease it well.
- Most importantly, remove the bread from the tin after 10 minutes. Letting the bread cool in the pan will make it soggy.
Other Breads that may interest you:
- Braided Easter Bread
- Homemade Soft Cheese Bread
- Lucky Horseshoe Shaped Stuffed Bread
- Honey Oatmeal Applesauce Bread
- Whole Wheat Rosemary Garlic Bread Recipe

This an old post that I am updating with newer pictures and write up as apart of the group Foodies_RedoingOld Post.
Pin for Later:

Srivalli Jetti says
Looks so beautiful Arch..I love these breads..
Priya Srinivasan says
Wow arch looks pretty! Love the shape of the rolls! I love Hokkaido rolls, so soft and fluffy
Priya Suresh says
Wow, those hedgehogs looks damn cute, simply love hokkaido milk bread.
Piyali Mutha says
Very interesting and informative read. Thank you for introducing me to Tangzhong. I fell in love instantly with the hedgehog rolls.
Nandita Gupta says
I love Tangzhong technique to make bread. Love the shapes and pics!
Jagruti says
Simply gorgeous looking bread..homemade is the best!
Sushma says
Looks so beautiful
Mayuri Patel says
Cute little hedgehogs. I love using the tangzhong technique to make soft breads and rolls.
Jayashree says
Lovely bread.. fresh baked one.
Pavani says
I LOVE tangzhong starter. It gives the best taste and texture to the breads. You are tempting me to make some Hokkaido bread soon 🙂
Sapana says
I am yet to try Tangzhong method, sounds perfect for soft and delicious bread recipes.
Seema Sriram says
I loved these from the bakery in the freezing cold winters of Japan. The were so melt in the mouth pillowy soft. I am so glad to see the recipe for these.
ArchanaPotdar says
😀 Thanks.
Veena Krishnakumar says
Cute looking hedgehogs:). I love this method too, gives a very soft bread. Looks very nice arch!!
Ruchi says
Loved the recipe. Bookmarked. Will surely try soon and send you feedback. Superb share
Mayuri Patel says
So many different variations from one dough. Love how soft and fluffy the bread turns out using the tangzhong method and also the addition of milk powder makes a whole lot of difference. Tempted to bake ladi pav using your method.
ArchanaPotdar says
Try, try. 😀
kalyani says
Arch - those cute little breads are tempting me to dust off my oven and roll up my sleeves to re-start baking again.. perfectly made..
ArchanaPotdar says
Go ahead and make.
Renu says
Never made a bread using Tangzhong method but heard a lot of it. The bread looks really soft and I love the braided bread. Would try your method sometime
ArchanaPotdar says
Do try Renu. You will love it.
Jayashree T.Rao says
Hokkaido, milk bread looks soft and delicious. I am yet to try these breads at home, must do them soon.
ArchanaPotdar says
😀
Preethicuisine says
Hokkaido Milk Bread with Tangzhong Looks so pillowy and soft. I have always been tempted to bake this bread but never did. You have explained it so well. I am sure to bake it soon. Baking with egg scares me .Thanks for the lovely recipe Archana.
ArchanaPotdar says
Preethi, you can leave out the egg if you are not comfortable. There are times when I d not add eggs.
Super duper kitchen says
To make bread using tangzong method is in my to do list for a long time. It looks pillow soft and I love braiding the bread.
ArchanaPotdar says
😀 thanks, dear.
FoodTrails says
I love baking breads at home but somehow this is always a pending recipe for me.. Looking and reading your post makes me feel that I should make it asap.. looks so soft pillowy .
ArchanaPotdar says
Do make Swati. You will love it.