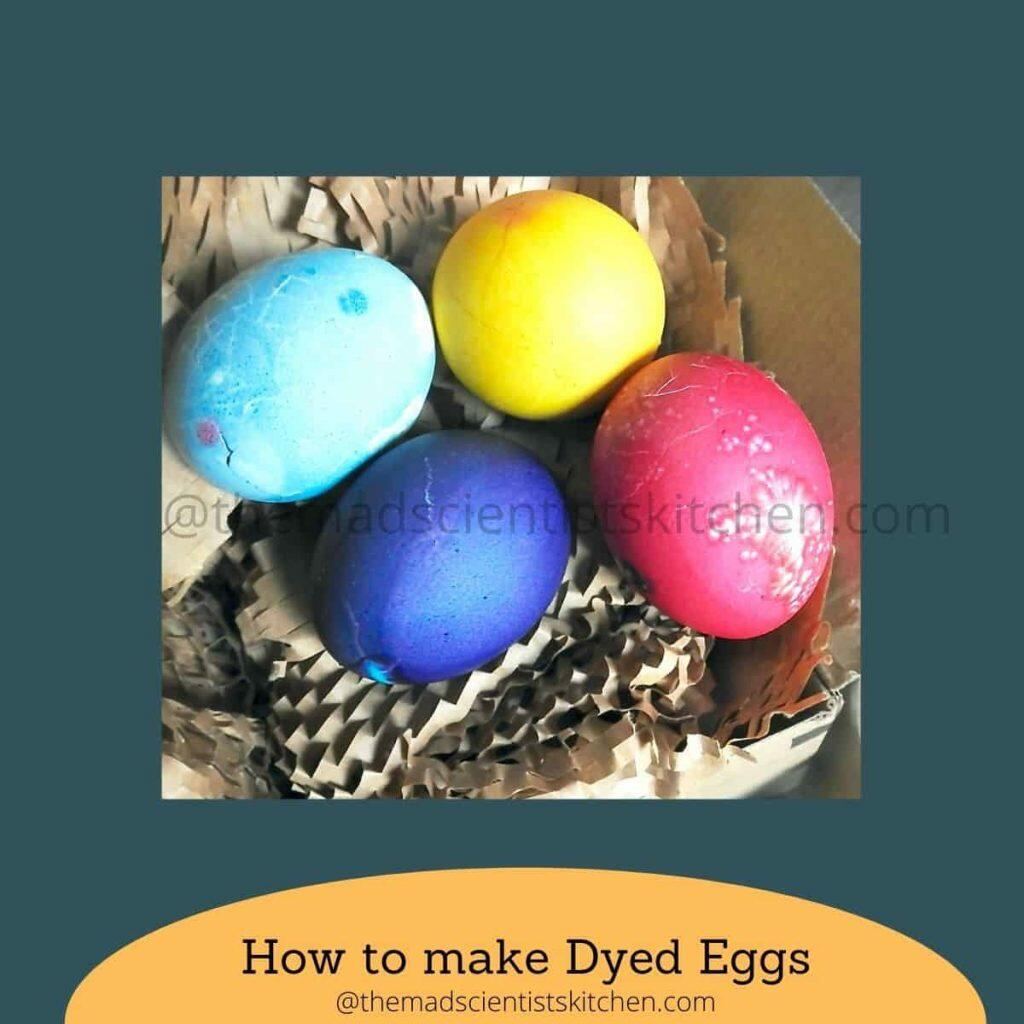
Make your dyed eggs for Easter this year! It is cheaper and your kids can have a lot of fun.
Easter and Dyed eggs are traditions. This easy method of making dyed eggs at home not only saves money but you can use natural colours from your pantry or food-based colours. Perfectly safe to eat.
Contents:
- This Dyed Eggs recipe and me
- Why MSK Dyed Eggs recipe
- Let's get started
- For Your Questions
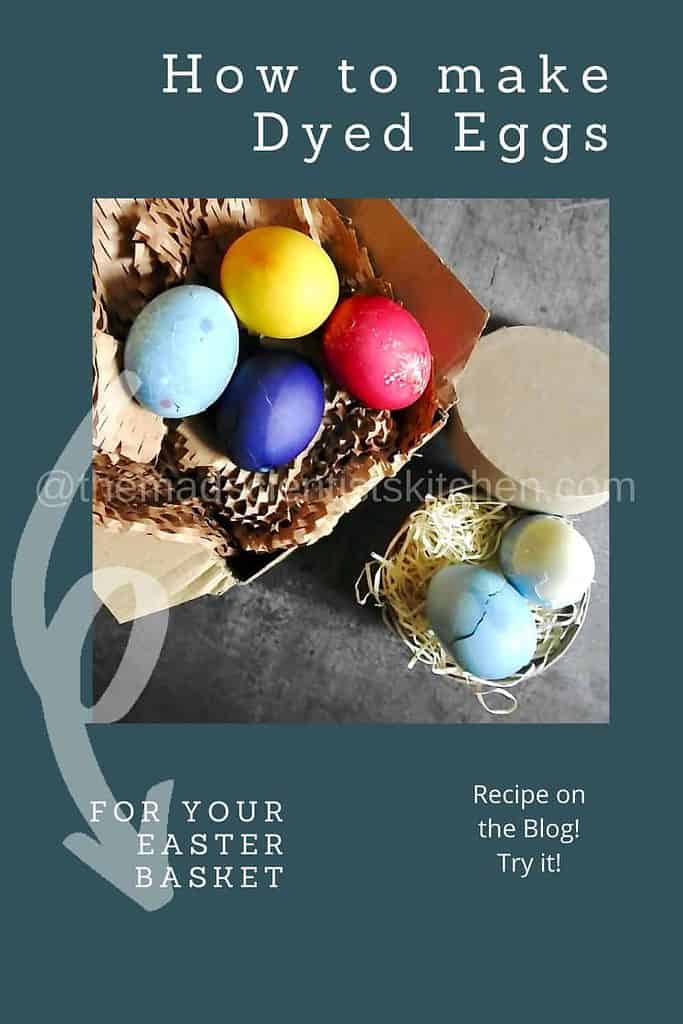
- For your Easter Celebrations
- Recipe card
- Pin for later
Hello, and welcome! I am known as The Mad Scientist’s Kitchen, reinventing the foodie in you!
Tired of choosing between tasty or healthy meals? No more! Here at the Mad Scientist’s Kitchen, I experiment with flavours and cuisines that are as nutritional as they are delicious.
Join me in my lab as we cook up some treats! You can stay up-to-date with my latest culinary adventures by subscribing to my newsletter. No scam, no spam, just the clink of my pots and pans!
I will love you to follow me on:
This Dyed Eggs recipe and me:
I have heard about dyed eggs a lot but never tried them out. This year I decided I will try making some. The plan is to add more colours to the eggs both natural and dyed based on one colour at a time.
These dyed eggs and the others like Egg Frittata Recipe, Egg Curry in Coorgi Style are here to stay in my place.
Why MSK Dyed Eggs recipe:
Make this recipe as
- As usual, it is easy
- Looks good
- Make it a project with kids
Let's get started:
These are the ingredients you will need. For quantities please check the recipe card.
Ingredients:
- Eggs
- Water
- Salt
- Vinegar
- Food colours/ Natural clours
- Oil
Method:
Before we make dyed eggs let us boil eggs on the stovetop
The traditional method of making boiled eggs is adding eggs to boiling water but I follow this method.
- In a big pot add the eggs.
- Cover with water and add salt. The thumb rule for the amount of salt is generally 1 tablespoon for 6 eggs. Adding makes peeling of eggs easy.
- Place the pot on the stovetop on high flame bring to a boil.
- Once the water starts boiling lower the flame, why? Any liquid once it starts boiling needs minimum heat to continue boiling. The excess heat you supply on high flame is a waste.
- For hard-boiled eggs Boil for 8-10 minutes then remove the eggs to cool completely.
Now things will get interesting let us dye our eggs.
- In a deep bowl, cup add hot water, 1 teaspoon of vinegar and food colour. If using a liquid colour you will need 20-25 drops for gel-based colours 1-2 teaspoon is enough. (For intense colours use more colour). Mix.
- Lower the egg in the liquid.
- Turn the egg in the cup so that the eggs are evenly coloured.
- Remove with a spoon when you are happy with the colour.
- Dry and apply the oil on the shell for a glossy shell.
If you plan to use natural colours you will need
- to boil the 1-litre water, with 2 tablespoon vinegar
- Add the ingredient you plan to use. ( I have used turmeric here). Lower the heat and boil for 30 minutes.
- Cool the boiled water and strain.
- In the strained liquid add the boiled eggs.
- Turn the egg in the cup so that the eggs are evenly coloured.
- Remove with a spoon when you are happy with the colour.
- Dry and apply the oil on the shell for a glossy shell.
Substitutes:
- Swap the vinegar with lemon juice the proportion is the same 1 teaspoon of vinegar with 1 teaspoon of lemon juice.
- Use natural colours in place of artificial colours. There are plenty like beets, onion skins, chilli powder, turmeric, purple cabbage, blueberries, spinach, red wine, tea.
Variations:
- I had seen on Instagram on Binal Valand's Instagram and loved it. I need to improve my technique!
Equipment:
- A pot to boil the eggs
- Spoons
- Cups or bowls to soak the eggs
- Paper towels/ newspaper
- Egg container to dry the eggs
How to serve:
- Brightly coloured eggs are part of the Easter egg basket.
- I am serving them as plain boiled eggs.
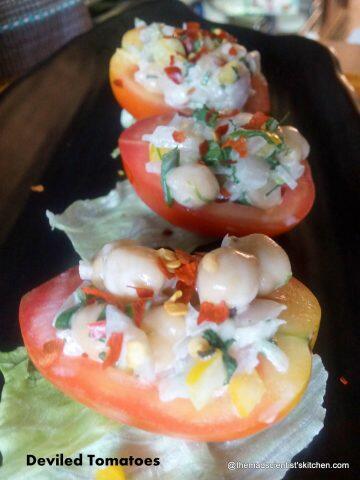
- You can always make deviled eggs.
How to store:
- Store boiled eggs in the fridge for about a week.
For Your Questions:
Protips:
- Use fresh eggs to boil.
- In India, the eggs are unwashed so wash them properly before boiling the eggs.
- Add salt to the water in which you plan to boil eggs. This helps in peeling the eggs easily.
- You need the vinegar or lemon juice so that the dye sticks to the eggs. Do not skip that.
- I have not used any oil but you can rub the dyed eggs with some. The eggs will have a wonderful shine.
For your Easter Celebrations:
Recipe card:
How to make Dyed Eggs for Easter
Equipment
- 1 A pot to boil the eggs and the natural dye
- 2 Spoons
- 3 Cups or bowls to soak the eggs
- Paper towels/ newspaper
- Egg container to dry the eggs
Ingredients
For Boiling Eggs:
- 8 eggs
- 1500 ml water
- 2 tablespoon salt
For the Food Colours:
- 8 teaspoon vinegar
- 20 drops food colours
- 1 tablespoon oil
For Natural Colour:
- 1 tablespoon Turmeric Powder
- 2 teaspoon vinegar
- 1000 ml water
Instructions
- Before we make dyed eggs let us boil eggs on the stovetop. The traditional method of making boiled eggs is adding eggs to boiling water but I follow this method.
- In a big pot add the eggs.Cover with water and add salt. The thumb rule for the amount of salt is generally 1 tablespoon for 6 eggs. Adding makes peeling of eggs easy.
- Place the pot on the stovetop on high flame bring to a boil. Lower the flame and boil.
- For hard-boiled eggs Boil for 8-10 minutes then remove the eggs to cool completely.
Now things will get interesting let us dye our eggs...
- In a deep bowl, cup add hot water, 1 teaspoon of vinegar and food colour. If using a liquid colour you will need 20-25 drops for gel-based colours 1-2 teaspoon is enough. (For intense colours use more colour). Mix.
- Lower the egg in the liquid. Turn the egg in the cup so that the eggs are evenly coloured.
- Remove with a spoon when you are happy with the colour.
- Dry and apply the oil on the shell for a glossy shell.
For Natural Colour:
- If you plan to use natural colours you will need to boil the 1-litre water, with 2 tablespoon vinegar
- Add the ingredient you plan to use. ( I have used turmeric here). Lower the heat and boil for 30 minutes.
- Cool the boiled water and strain.
- In the strained liquid add the boiled eggs.
- Turn the egg in the cup so that the eggs are evenly coloured.
- Remove with a spoon when you are happy with the colour.
- Dry and apply the oil on the shell for a glossy shell.
How to serve
- Brightly coloured eggs are part of the Easter egg basket but I will serve my eggs as plain boiled eggs or deviled eggs.
Notes
- Use fresh eggs to boil.
- In India, the eggs are unwashed so wash them properly before boiling the eggs.
- Add salt to the water in which you plan to boil eggs. This helps in peeling the eggs easily.
- You need the vinegar or lemon juice so that the dye sticks to the eggs. Do not skip that.
- I have not used any oil but you can rub the dyed eggs with some. The eggs will have a wonderful shine.
Nutritional Disclaimer: I am not a certified nutritionist and make no claims to the contrary. Please check with your nutritionist for your dietary needs and restrictions. Ultimately you are responsible for your decisions.
Recipe Video:

Pin for later:


Priya Vj says
Interesting recipenof making easter eggs at home ..these are so hygienic and healthy as we know what is being used as dye for the colors . Sure the kids would love to try their hands on this recipe
ArchanaPotdar says
😀 try it.
Mayuri Patel says
Homemade dyed eggs is a fun activity. I remember getting my kids to dye eggs at home as they always had to take one for school project. This was an activity I carried out with my class kids when I was teaching. Your post is a reminder that I should do this activity this Easter.
ArchanaPotdar says
😀 waiting to see them, Mayuri.
Jayashree T.Rao says
That's a good tutorial to make dyed eggs at home for Easter. Will show this to my neighbour.
ArchanaPotdar says
Thanks, Jayashree. I hope your neighbour likes it. Please ask her to give her feedback.
Seema says
You brought me back to the days when we used to do stained egg art with the then toddlers. I still have a bunny hat lying around. Beautifully coloured eggs here.
ArchanaPotdar says
Thanks, Seema.
Kalyani says
This sure is a dun activity for kids to indulge in.. and more the colours the merrier na
ArchanaPotdar says
😀